Table of contents
ToggleI would never have thought of taking on the maintenance of my quad myself. However, after two visits to the dealer for oil changes, with all the hassle that entails, I figured I would save time and money by doing it at home. That assumption ended up being true, but certainly not my first time trying… For those who are hesitant to try it, you can’t do much worse. To those who are already mechanically capable, you can laugh a little 🙂
The situation…
The mechanic’s apprentice: A woman in her 50’s for whom mechanical work is as simple as checking the oil level and filling the windshield washer tank.
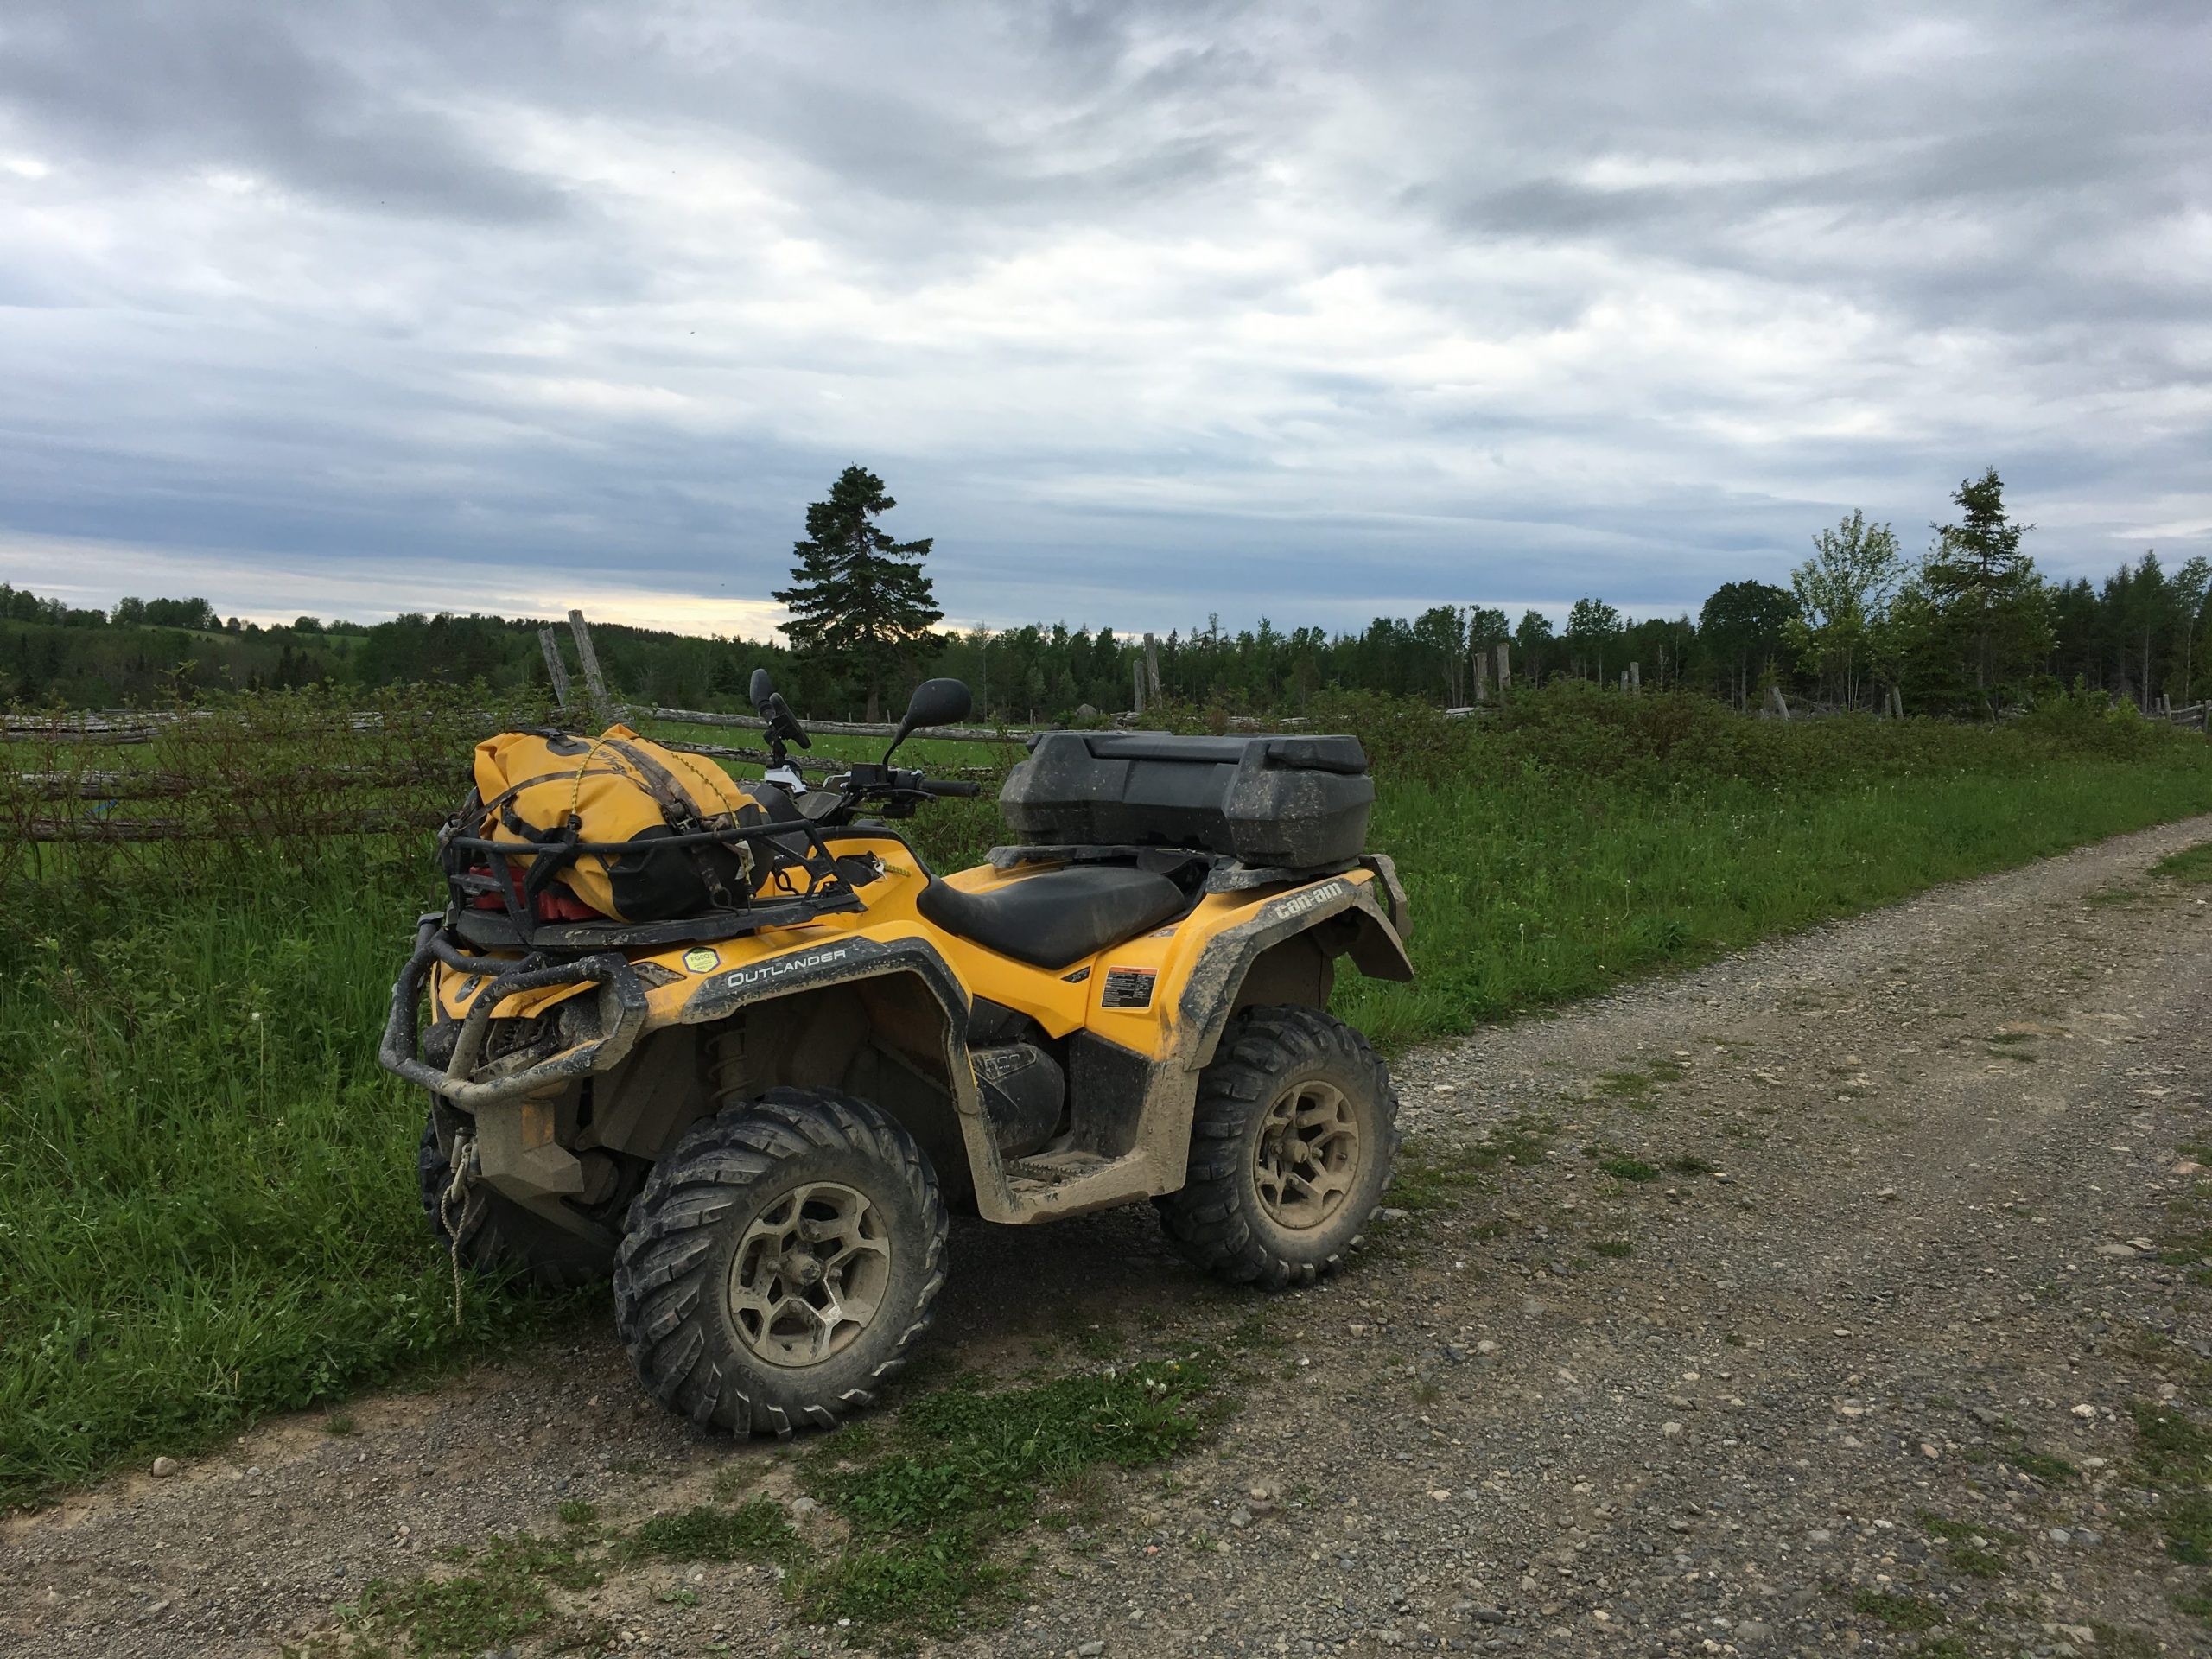
The machine: 2017 Can Am Outlander 500
The helpers: YouTube tutorials
After a week of watching dozens of how-to videos, I feel ready. Full of confidence, I go get an oil change kit from the dealership, some tools from Canadian Tire and set up shop. First step: disassembling the body.

It doesn’t start well… I have a lot of trouble to undo the puzzle of all these parts that fit together and come apart in a very precise order. To remove a piece, you have to undo three!
Back to YouTube to learn more…
I’m afraid I’ll break the plastics by bending them and I scratch all my joints in the process, but I end up removing one side. Now I’m going to work on the footboard. It looks really easy in the videos, but it’s not like that in real life! I removed all the screws, it’s totally undone but no matter how much I shake it, turn it, make threats, it refuses to come out.
Back on YouTube to learn more… now it should come out by pulling on it.
I pull, I curse a little, I start to feel impatient. I look in the garage for something to help me and my eyes fall on the saw and then on the jigsaw. Hummm… Finally I choose the crowbar: it’s a success!
This continue…
I’m now at the stage of emptying. I notice that an ATV is not that high when you want to get under it… After several socket changes to find the right size, I finally proceed. Victory, the oil flows into my brand new super receptacle! Except that the cap is not completely unscrewed, so I hurry to finish removing it. The damned oil takes the opportunity to run into my hands, and it takes the easiest way to the ground: my arm. It gets up to my shoulder when I finally hear the “slob” of the cap falling into my container, followed a fraction of a second later by the “slob” of my beautiful new ratchet that will join it. Well, it won’t rust!
After sponging myself, I attack the oil filter. That’s when I realize that I didn’t need to remove my footboard to reach it. Bummer, I undid this for NOTHING!!! I curse the YouTube tutorials that said otherwise and shoot the saints from heaven for a moment, it feels good!
After a short break, I remove the oil filter cover. If I hadn’t dropped a screw, this step would have been easy. No danger of it falling on the ground… no sir, it fell somewhere in the frame of the ATV. I remove the old filter and place the new one in the cover. Like a pro, I get ready to put some oil on the rubber part, I had seen that somewhere before. I pull my oil pan out from under the ATV with a little damage in the process and of course, my new filter comes off the cover and goes into the pan to join the ratchet and the drain plug. Darn. Well, it’s oiled I think…
I look for the lid screw for a good 20 minutes before finding it and putting it back together successfully. Then, I go fishing for the ratchet in the oil bath and finally put the drain plug back in place. All that’s left is to fill the tank.
Finally…
By this point, I should have known there would be no easy way to do it. Since I don’t have a funnel, I try to aim the tiny hole in the oil wand. I manage to do it but it doesn’t flow well and it overflows a lot. I wanted to be careful not to get oil on the garage floor. It’s definitely a failure.
I start the engine and then adjust the oil level. I’m all set, my oil change is done. I’m dirty, oiled all over, my knuckles are scraped and my back is sore and yet I’m beaming with pride. Then I look at the bodywork that still needs to be put back together. Tomorrow I say to myself.

Since this first one, I have improved a lot. Without showing off, I can say that changing the oil on my ATV is no longer a problem. I then undertook other maintenance tasks such as greasing or changing the belt, always with the same difficulties at the beginning, but I succeeded.
You don’t know anything and you are afraid to do your own maintenance? Go for it, you can’t do any worse than I did!

