Taking care of your ATV is crucial. It’s highly recommended to regularly perform maintenance on your all-terrain vehicle and keep a close eye on certain parts. In this mechanical column, we’ll dive deep into the transmission pulleys and ventilation. I’ll explain why it’s important not to overlook the maintenance of these components.
To access the inside of the casing, simply follow the instructions provided in the “Belt Replacement” section of this article. Once the belt is removed, we’ll move on to the partial disassembly of the primary and secondary pulleys.
Step 1: Partial Disassembly of the Primary Pulley
Required Tools:
- Ratchet wrench with a 4 or 6-inch extension
- 10mm socket
- Permanent marker
Steps:
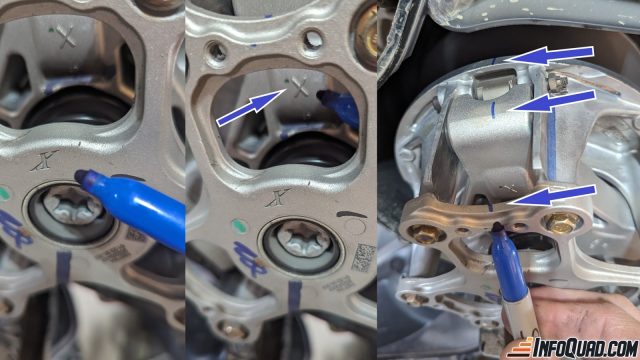
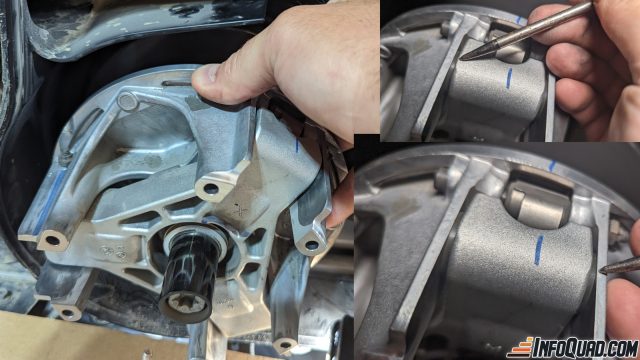
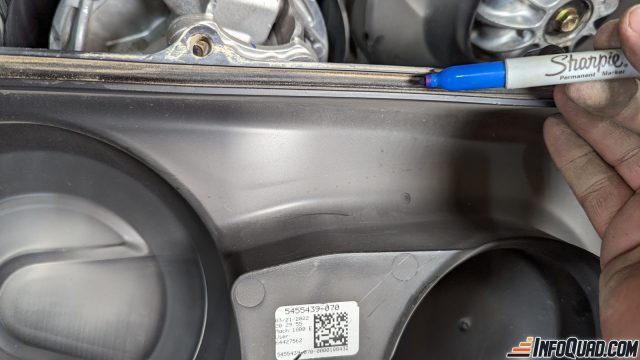
- Before starting the disassembly, make sure to mark reference points on the pulley using a permanent marker, if necessary.
- Loosen each nut by one turn to free them.
- Apply pressure to the pulley cover with your hand.
- Remove the 6 retaining bolts on the pulley cover.
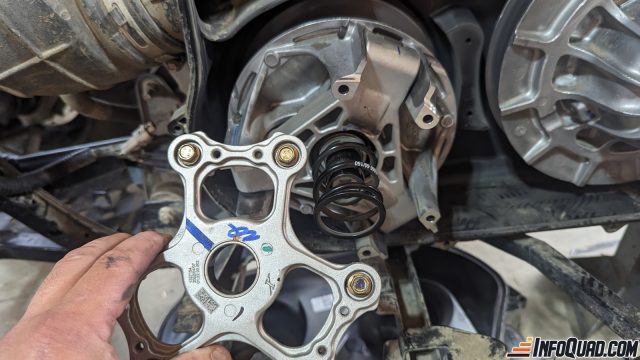
- Slowly release the tension on the cover.
- Retrieve the spring.
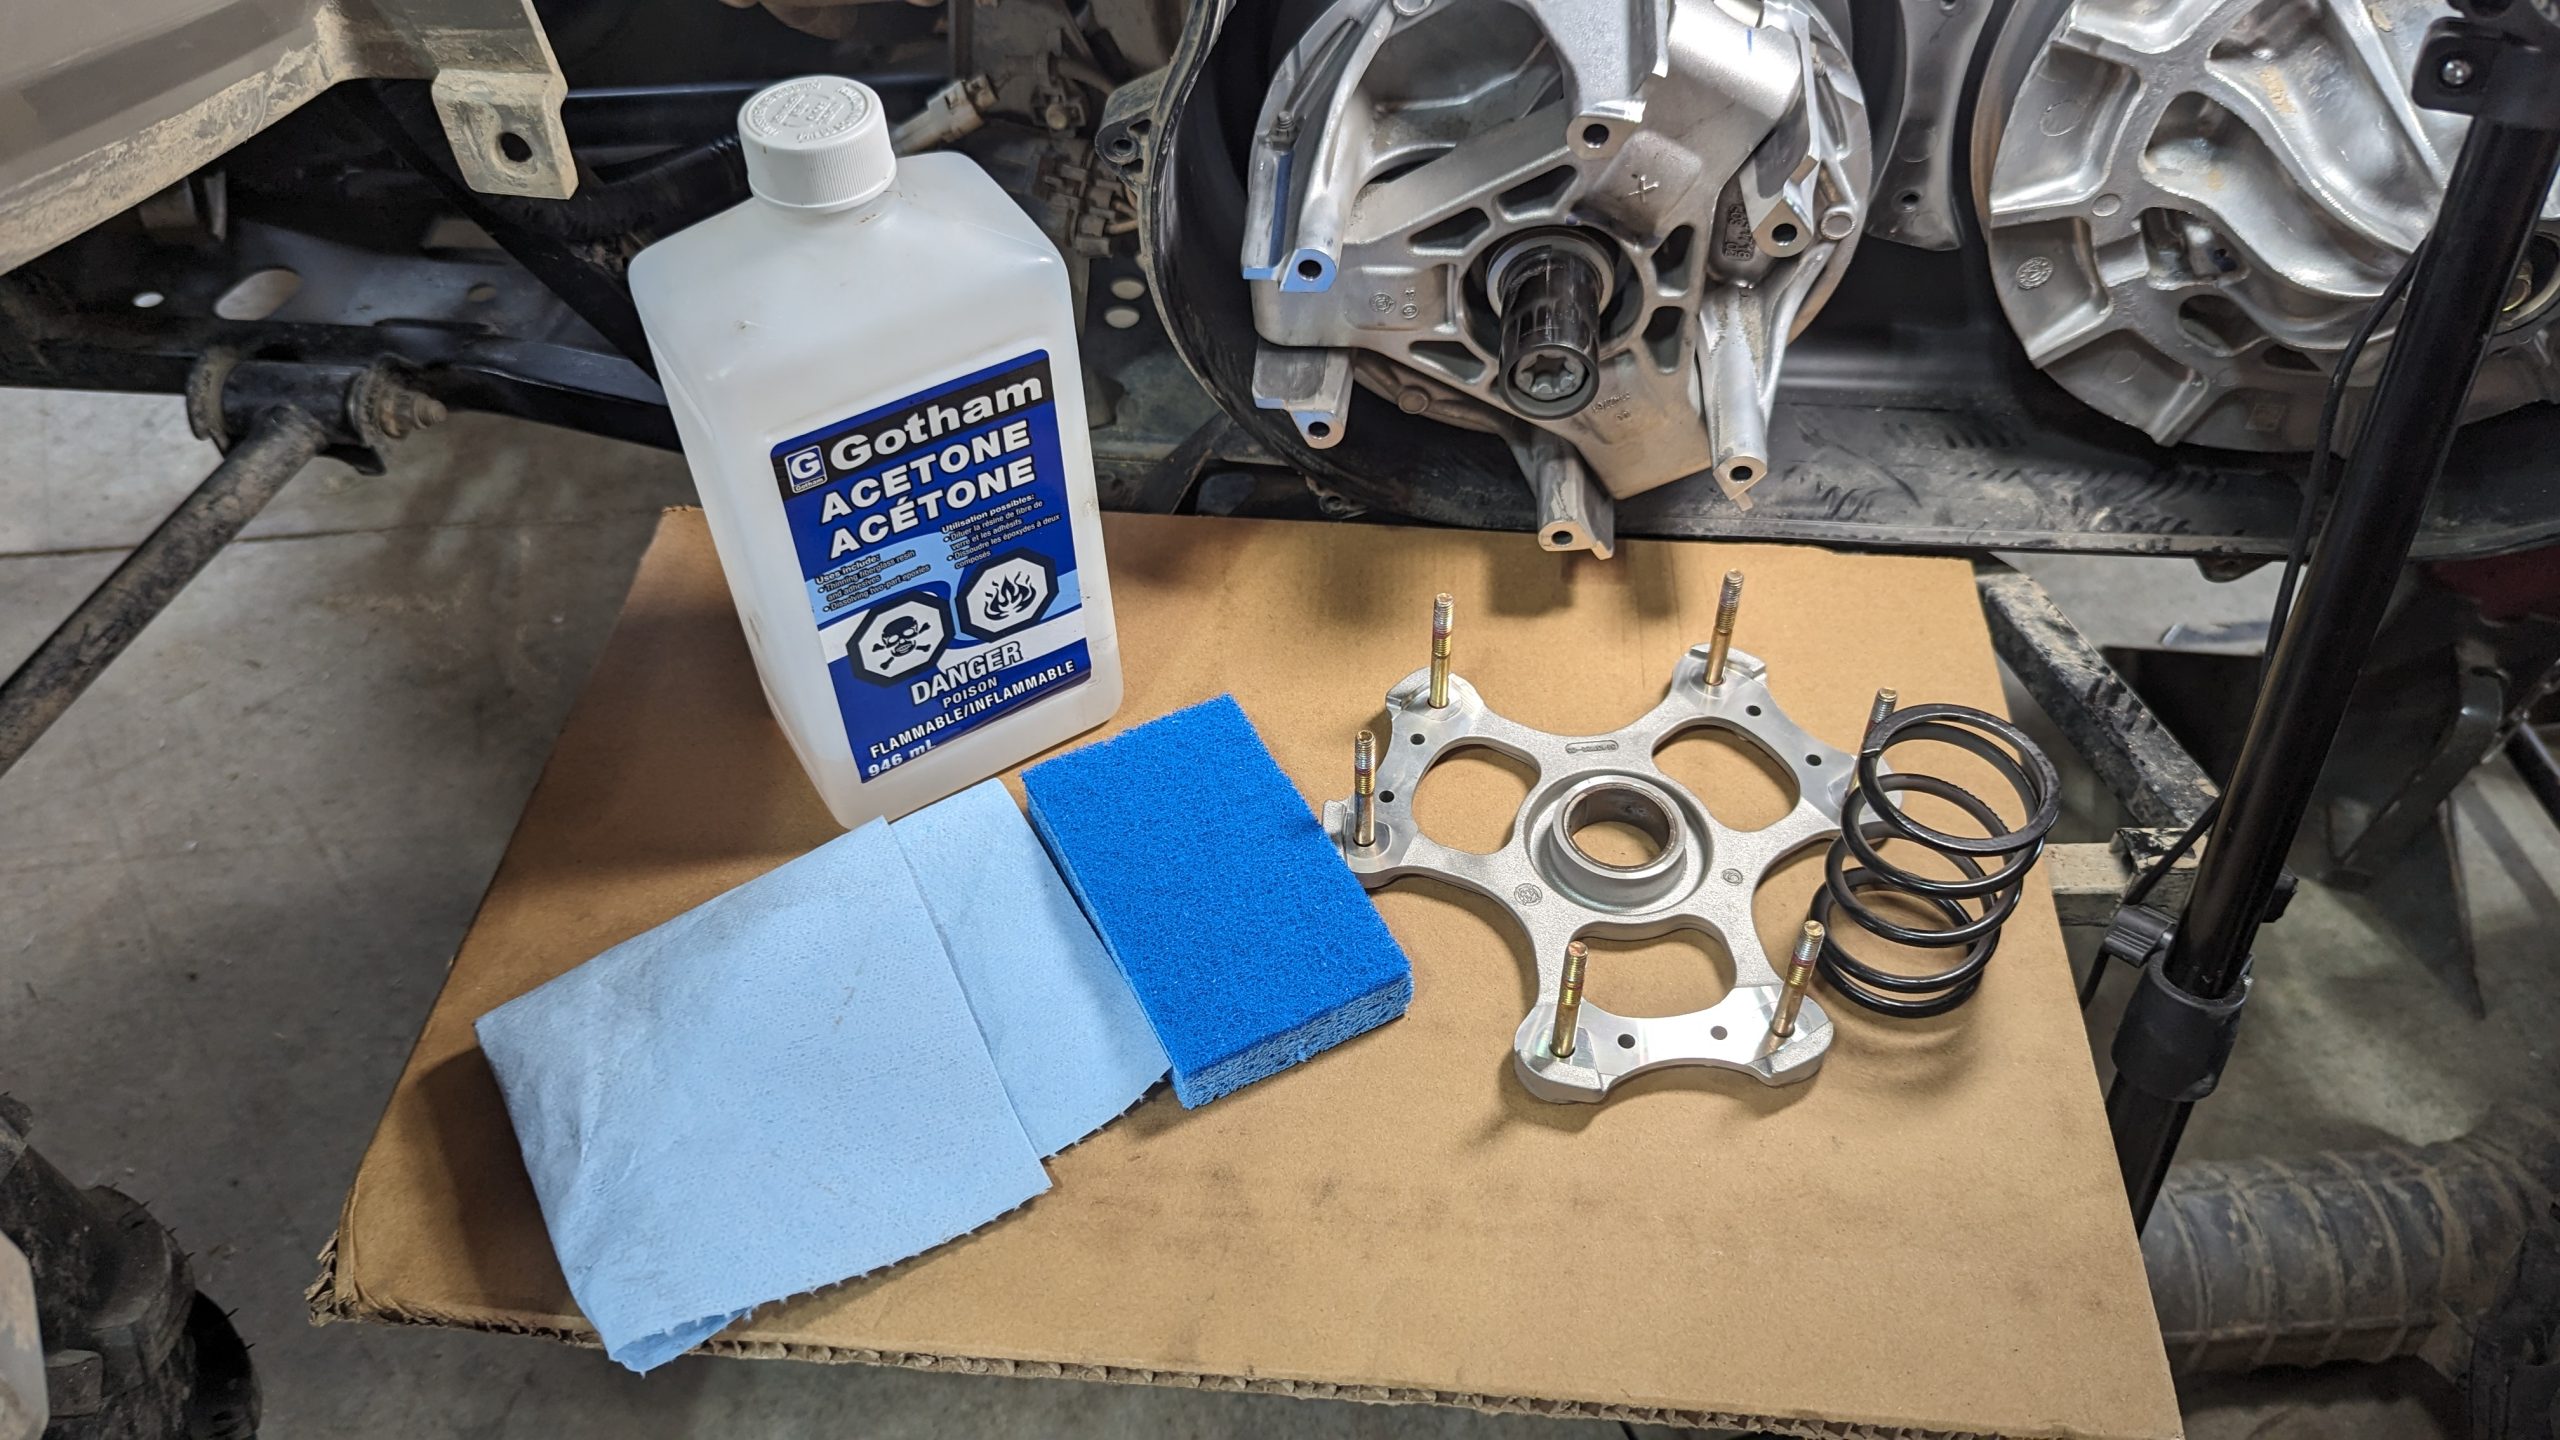
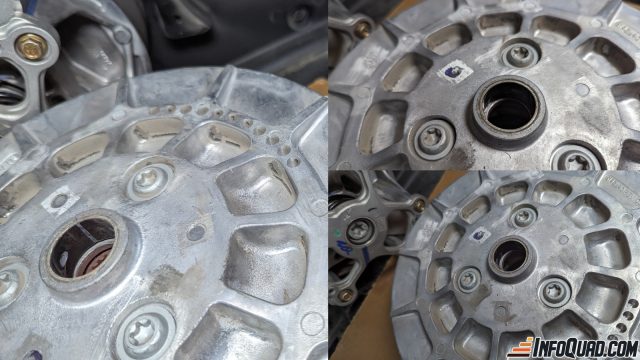
Step 2: Inspection and Cleaning of the Primary Pulley
Required Tools:
- Acetone
- Cleaning rag
- Compressed air
- Safety goggles
- Protective gloves, if needed
Weights:
- Blow compressed air over the visible surfaces, and clean them with a cloth and a little acetone. Ensure proper ventilation.
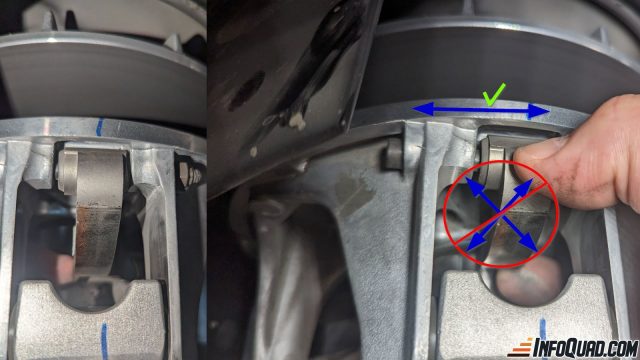
- With your fingers, individually move the weights (3 in total) from left to right. Lateral play is normal but not diagonal.
- Visually check for flat spots or signs of wear. This could damage the rollers.
Rollers:
- Blow compressed air over the visible surfaces, and clean them with a cloth and a little acetone. Ensure proper ventilation.
- Rotate the rollers one by one with your fingers (3 in total). There should be no resistance.

- Pinch the rollers and move them from left to right, checking for excessive play.
- Visually inspect for flat spots or damage, as this could damage the weights.
Spring:

- Blow compressed air over the visible surfaces, and clean them with a cloth and a little acetone. Ensure proper ventilation.
- Inspect the condition of the spring.
- You can find spring length specifications based on color. Check with your dealer.
Issues with a worn or damaged spring may include:
- Altered acceleration
- Engine RPM impact
- Compromised maximum speed
- Risk of belt damage
Guides and Cushions:
- Blow compressed air over the visible surfaces, and clean them with a cloth and a little acetone. Ensure proper ventilation.
- Without disassembling the fixed part of the primary pulley, examine the guides and slides for good condition.
- Guide walls should be smooth and without grooves.
- When new, there should be virtually no play between the cushions and slides.
Issues with damaged guides or cushions may include:
- Altered acceleration
- Engine RPM impact
- Compromised minimum and maximum speed
- Risk of belt damage
- Risk of pulley breakage
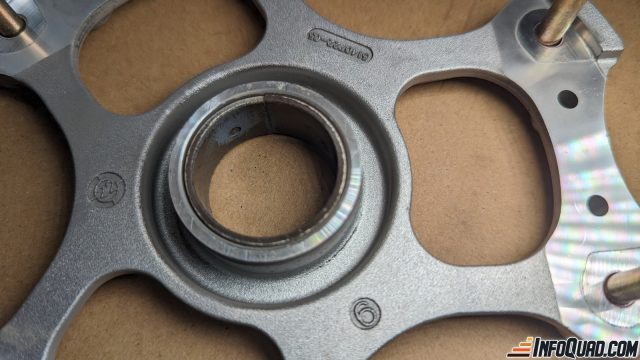
Plates and Rollers:
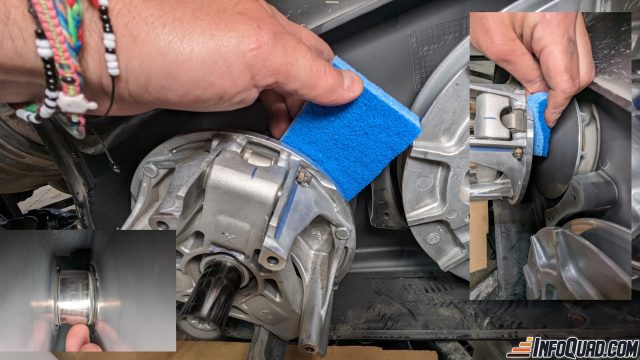
- Blow compressed air over the visible surfaces, and clean them with a cloth and a little acetone. Ensure proper ventilation.
- Without disassembling the fixed part of the primary pulley, examine the plates to ensure they are in good condition.
- Plate walls should be polished and without grooves.
- Remove belt black marks.
- The roller at the bottom of the plates should turn with some resistance while remaining smooth.
- Some roller models only turn in one direction. Check with your dealer.
- There should be no lateral movement in the roller.
Possible issues with dirty plates, pulleys, or play in the main roller may include:
- Altered acceleration
- Belt slippage if plates are dirty and greasy
- Engine RPM impact
- Compromised minimum and maximum speed
- Risk of belt damage
- If the main roller is damaged, the engine brake may be affected, leading to pulley breakage.
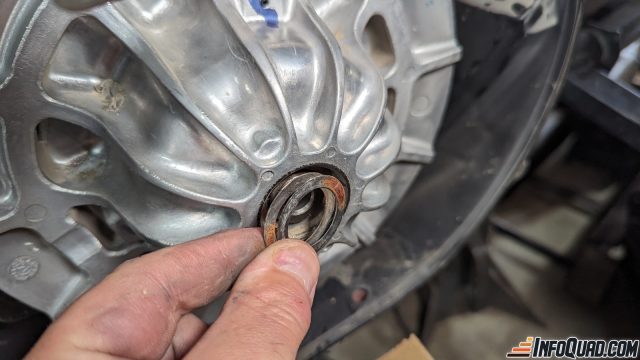
Pulley Cover Guide:
- Blow compressed air over the visible surfaces, and clean them with a cloth and a little acetone. Ensure proper ventilation.
- Inspect the condition of the guide.
- The guide surface should be smooth and without grooves.
Possible issues with a worn or damaged guide may include:
- Altered acceleration
- Engine RPM impact
- Compromised minimum and maximum speed
- Risk of belt damage
- Possibility of damaging the secondary pulley shaft.
Step 3: Assembly of the Primary Pulley
Required Tools:
- Ratchet wrench with a 4 or 6-inch extension
- 10mm socket
- Torque wrench
Steps:
- Install the spring.
- Install the cover and apply hand pressure while installing 1 or 2 bolts.
- Insert the 6 bolts and apply the correct tension using a torque wrench. Refer to your manufacturer’s manual for the proper torque values.
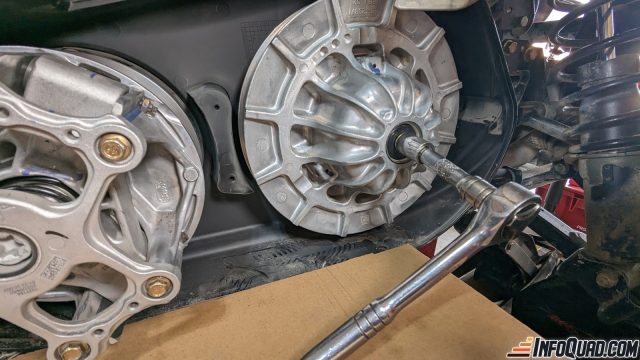
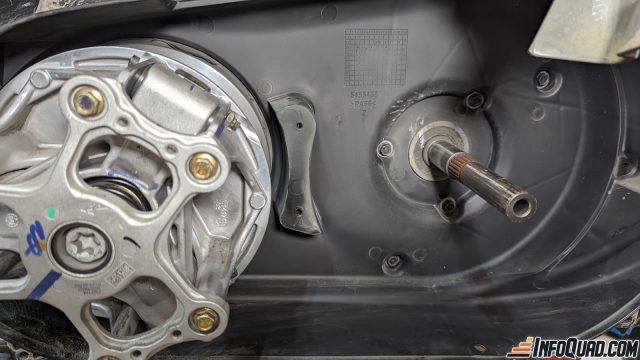
Step 4: Partial Disassembly of the Secondary Pulley
Required Tools:
- Ratchet wrench with a 4 or 6-inch extension
- 15mm socket
- Permanent marker
Steps:
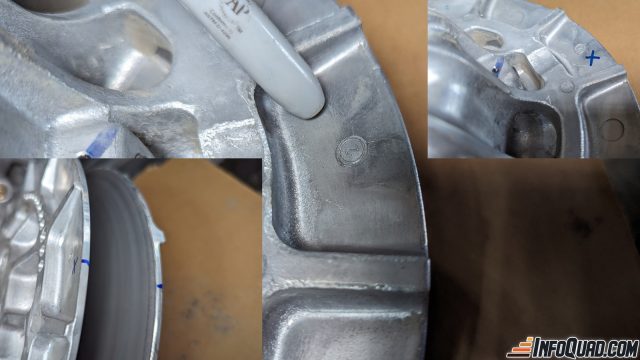
- Before starting the disassembly, mark reference points on the pulley using a permanent marker, if necessary.
- Apply the handbrake.
- Loosen the retaining bolt.
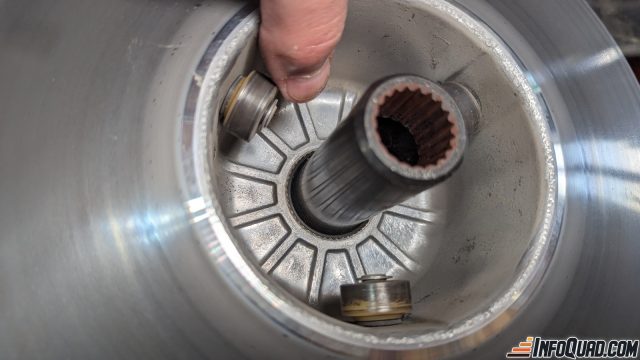
- Count and note the number of shims before removing them.
- Slowly remove the plates and separate them.
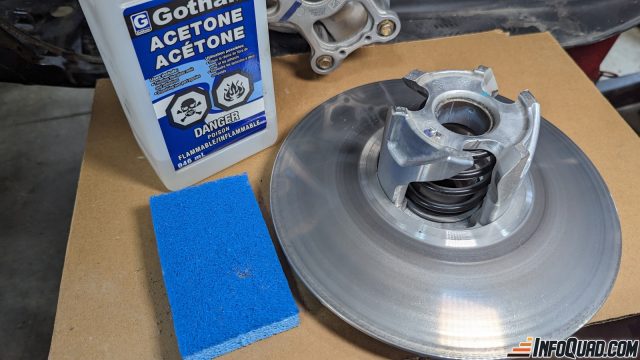
Step 5: Inspection and Cleaning of the Secondary Pulley
Required Tools:
- Acetone
- Cleaning rag
- Compressed air
- Safety goggles
- Protective gloves, if needed
Spring:

- Blow compressed air over the visible surfaces, and clean them with a cloth and a little acetone. Ensure proper ventilation.
- You won’t be able to remove it for visual inspection, but you can examine its condition. Check for breaks, rust, or damage.
Issues with a worn or damaged spring may include:
- Altered acceleration
- Engine RPM impact
- Compromised maximum speed
- Risk of belt damage
Rollers:
- Blow compressed air over the visible surfaces, and clean them with a cloth and a little acetone. Ensure proper ventilation.
- Rotate the rollers one by one with your fingers (3 in total). There should be no resistance.
- Examine them for any fractures.
Issues with worn or damaged rollers may include:
- Erratic acceleration
- Risk of belt damage
- Plates won’t close properly
Plates:
- Blow compressed air over the visible surfaces, and clean them with a cloth and a little acetone. Ensure proper ventilation.
- Plate walls should be smooth and without grooves.
- Remove black belt marks.
Possible issues with dirty plates:
- Altered acceleration
- Belt may slip if plates are dirty or greasy
- Engine RPM impact
- Compromised minimum and maximum speed
- Risk of belt damage
Pulley Cover Guide:
- Blow compressed air over the visible surfaces, and clean them with a cloth and a little acetone. Ensure proper ventilation.
- Inspect the condition of the guide.
- The guide surface should be smooth and without grooves.
Possible issues with a worn or damaged guide may include:
- Altered acceleration
- Engine RPM impact
- Compromised minimum and maximum speed
- Risk of belt damage
- Possibility of damaging the secondary pulley shaft.
Step 6: Inspection of the Pulley Casings
- Blow compressed air over the visible surfaces, and clean them with a cloth and a little acetone. Ensure proper ventilation.
- Ensure there are no cracks on the housing or cover.
- Inspect the air inlet and outlet.
- The drainage plug should be present.
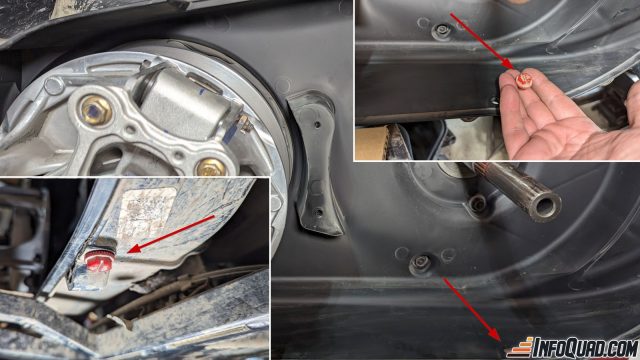
- The O-ring should not be flattened or broken.
Possible issues with a damaged or non-sealed casing:
- Altered acceleration
- Belt may slip if the casing is dirty or greasy.
- Compromised minimum and maximum speed
- Debris can damage the belt and pulleys
- If you don’t have drainage plugs in place, water, mud, and dirt can get into the casing, leading to operational issues.
Step 7: Assembly of the Secondary Pulley and Installation
Required Tools:
- Ratchet wrench with a 4 or 6-inch extension
- 15mm socket
- Torque wrench
Steps:
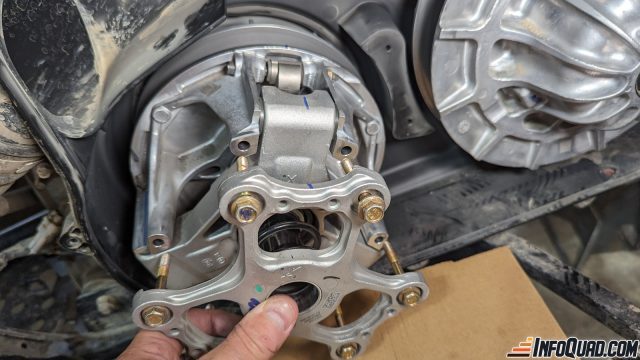
- Assemble the 2 plates and align the reference points or marks made earlier.
- Apply the handbrake.
- Insert the pulley onto the shaft.
- Reinstall the shims and ensure the correct quantity.
- Insert the bolt and apply the correct tension using a torque wrench. Refer to your manufacturer’s manual for the proper torque values.
In Conclusion
In summary, here are the steps to maintain your ATV’s traction pulley system in good condition. Since you often use it in challenging terrains, taking care of your ride is essential to avoid being stranded or facing embarrassing situations. Performing your own maintenance allows you to know your ATV’s condition and save money. It’s better to have peace of mind than to wonder if you’ll make it back safely. 😉 If you’re not confident in performing these tasks yourself, don’t hesitate to contact your dealer; they’ll be there to assist you.
I’ve also produced a step-by-step video.
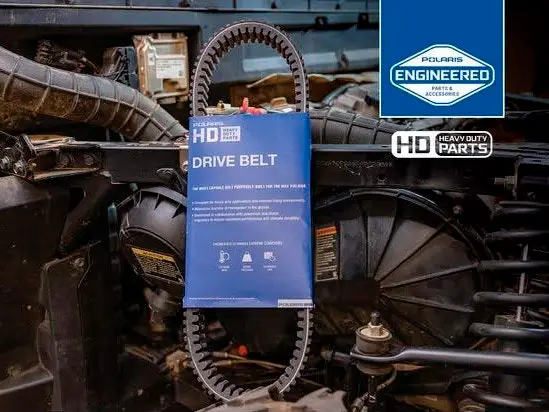
Thanks to Polaris Industries for the Polaris Sportsman 570, for these columns.
So, don’t hesitate to give it your all and fully enjoy this quad season! 🤟