Table of contents
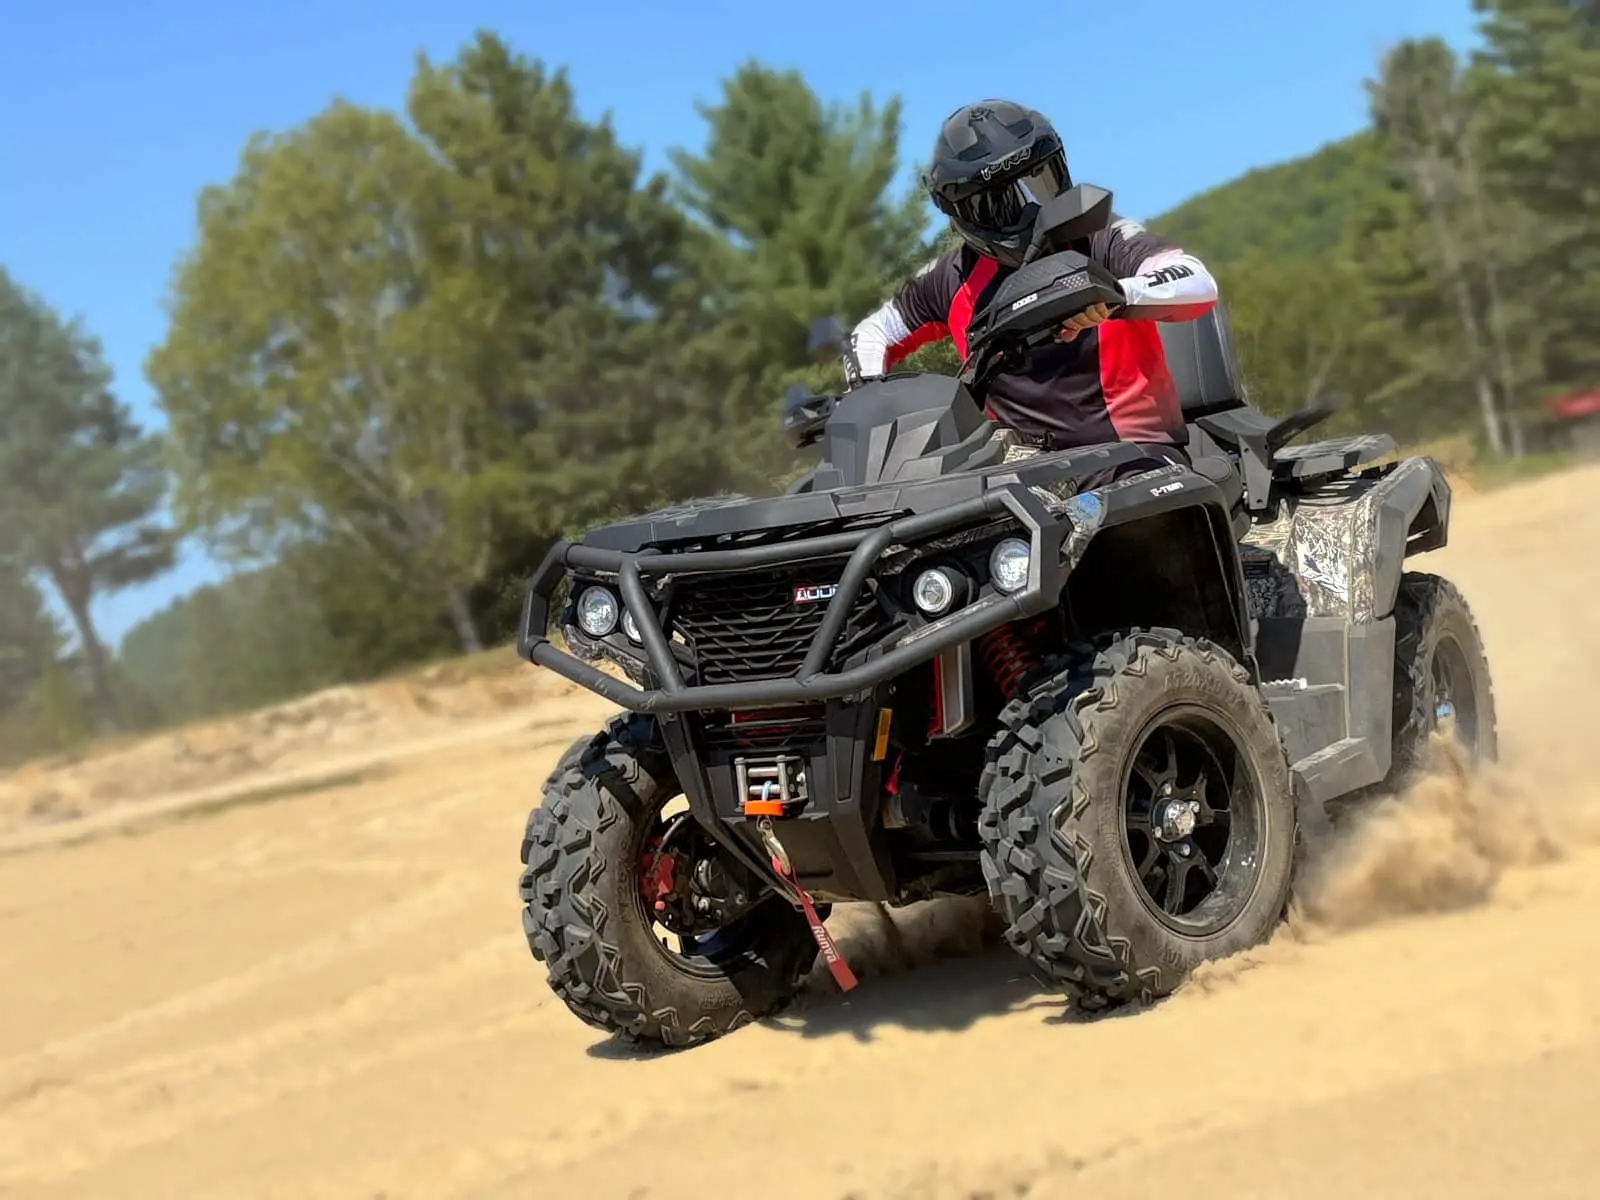
ToggleWhen you’re a quad rider, one thing’s for sure: sooner or later, you’re going to get a flat tire. The question isn’t IF it’s going to happen, but rather WHEN?
I live on the border of the Bas-St. Laurent and Gaspésie tourist regions. I don’t know if it’s the same in every region, but in the places where I ride my quad, the type of soil puts our quads’ tires to the test.
So, repairing a puncture becomes a ritual that is often repeated on several occasions during the season. This is especially true when your tires are ill-fitting or nearing the end of their life.
What You Need
During my rides, I’m often surprised to find that many quad riders don’t have what’s needed to repair a flat tire in their luggage. I’m talking about the following essential items:
- A compressor
- Highlights (preferably brown)
- A rasp-type tool
- A bit threading tool
- A pressure gauge
Optionally, I also recommend carrying the following items with you:
- Rubber cement or glue
- Bottle of soapy water
- Replacement valve caps
- Spare valves
- Valve changing tool
How to Repair a Flat Tire
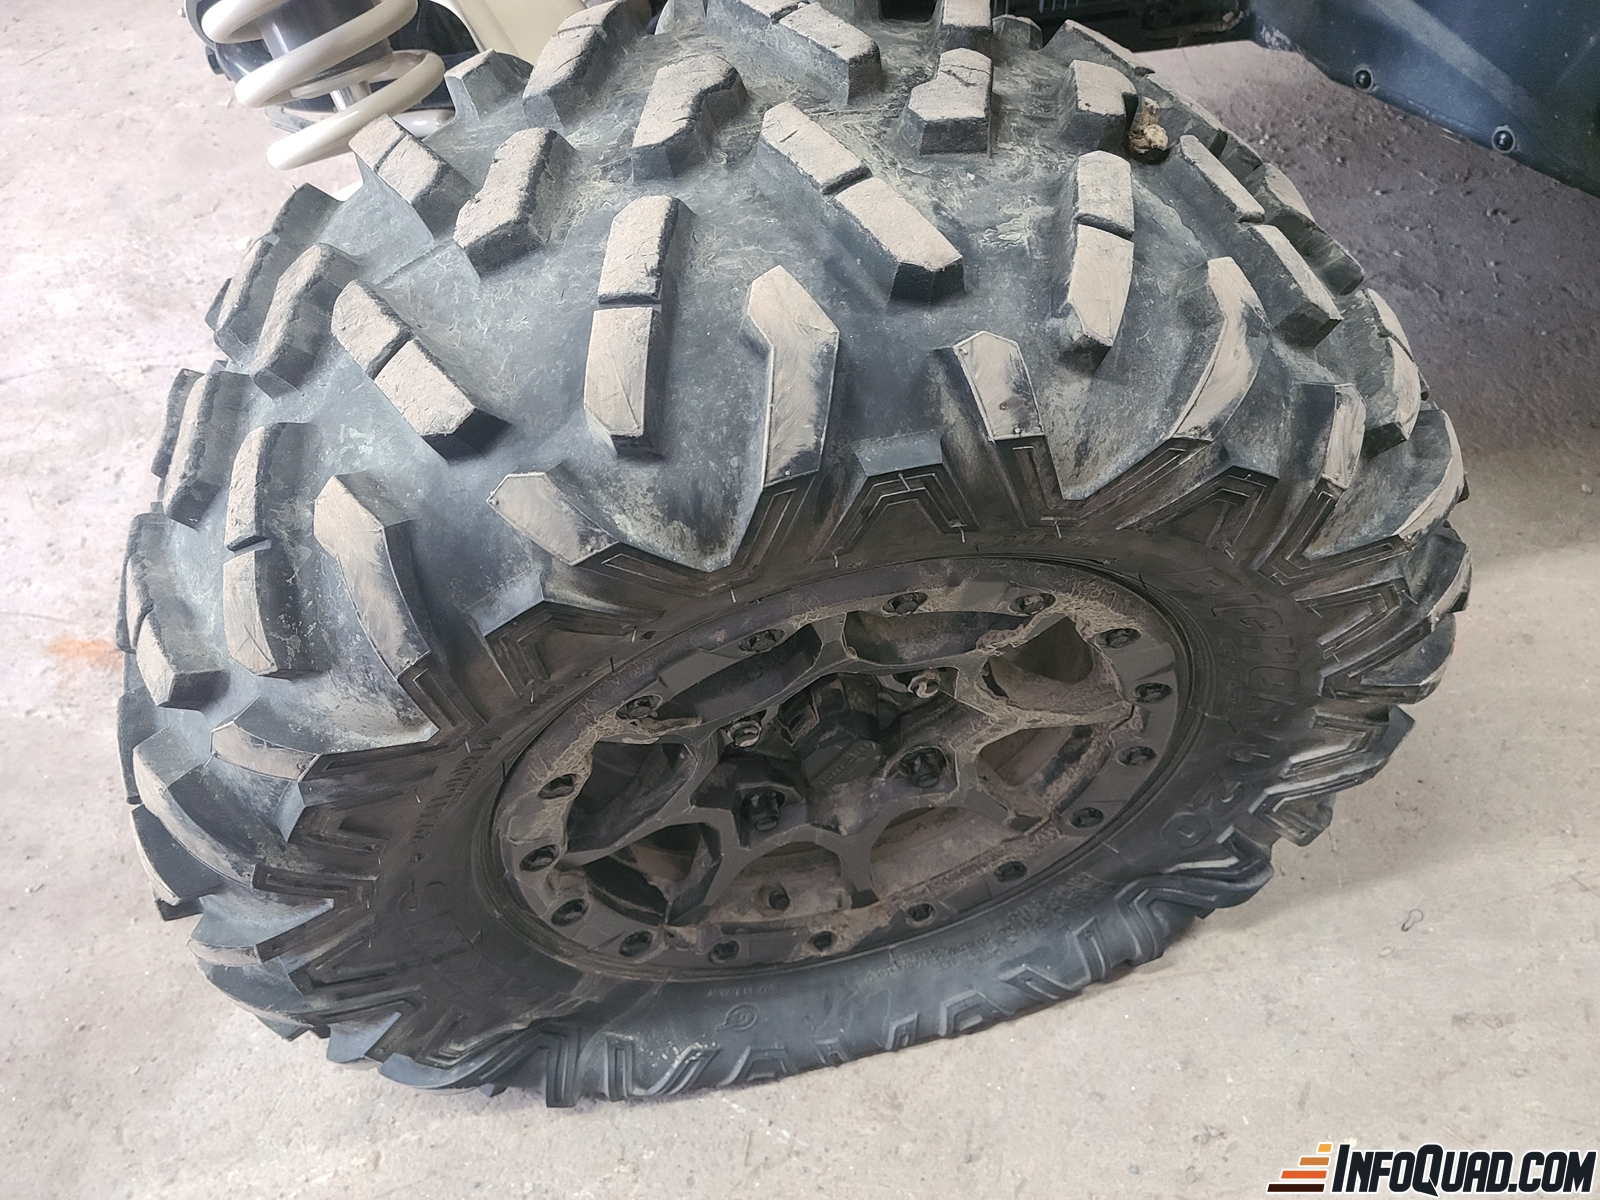
Here you are, standing at the edge of the trail with a flat tire. You’ve got the tools, but you don’t know the steps. Here’s how to fix the vast majority of flat tires.
1. Safety First
Before taking out your kit, please make sure your vehicle is parked beside the trail. Also, make sure that other riders have enough space and time to avoid coming into contact with you or your quad.
2. Locating the Leak
If your tire is completely flat, it’s difficult to locate the leak. Then use the compressor to reinflate the tire.
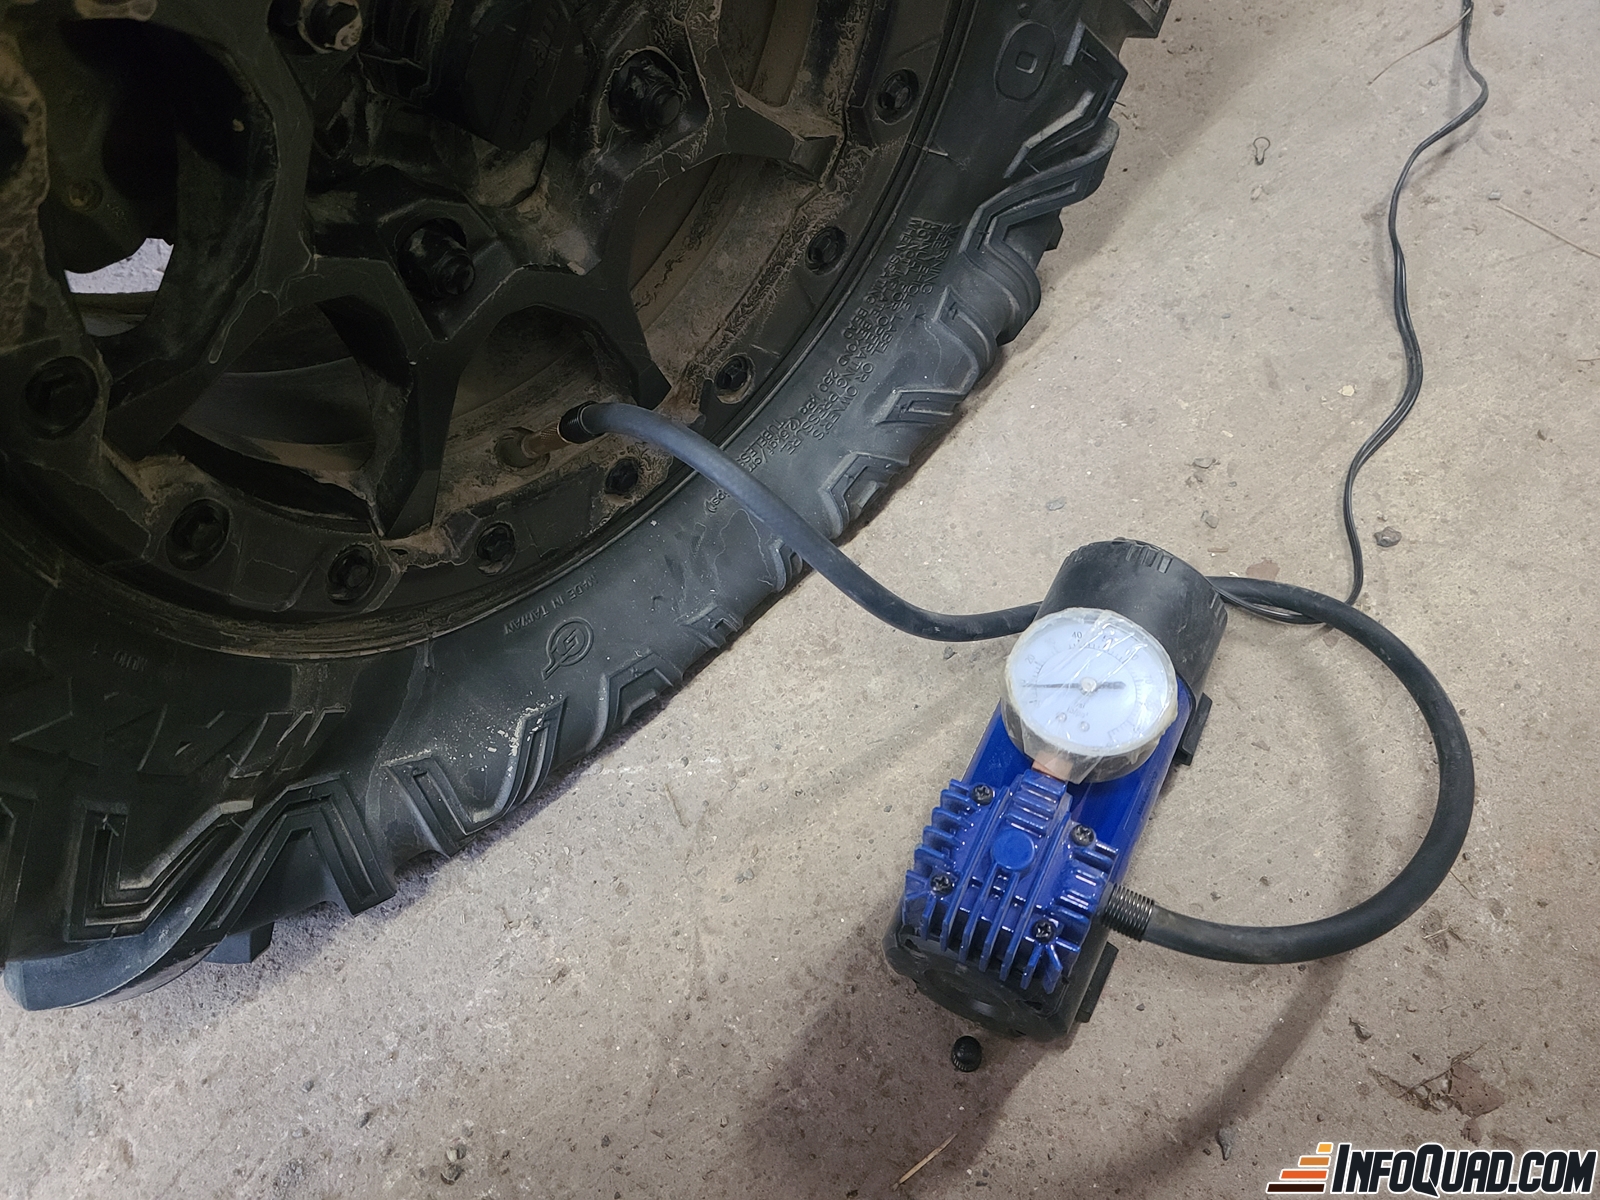
Locating the leak and preparing the Quad
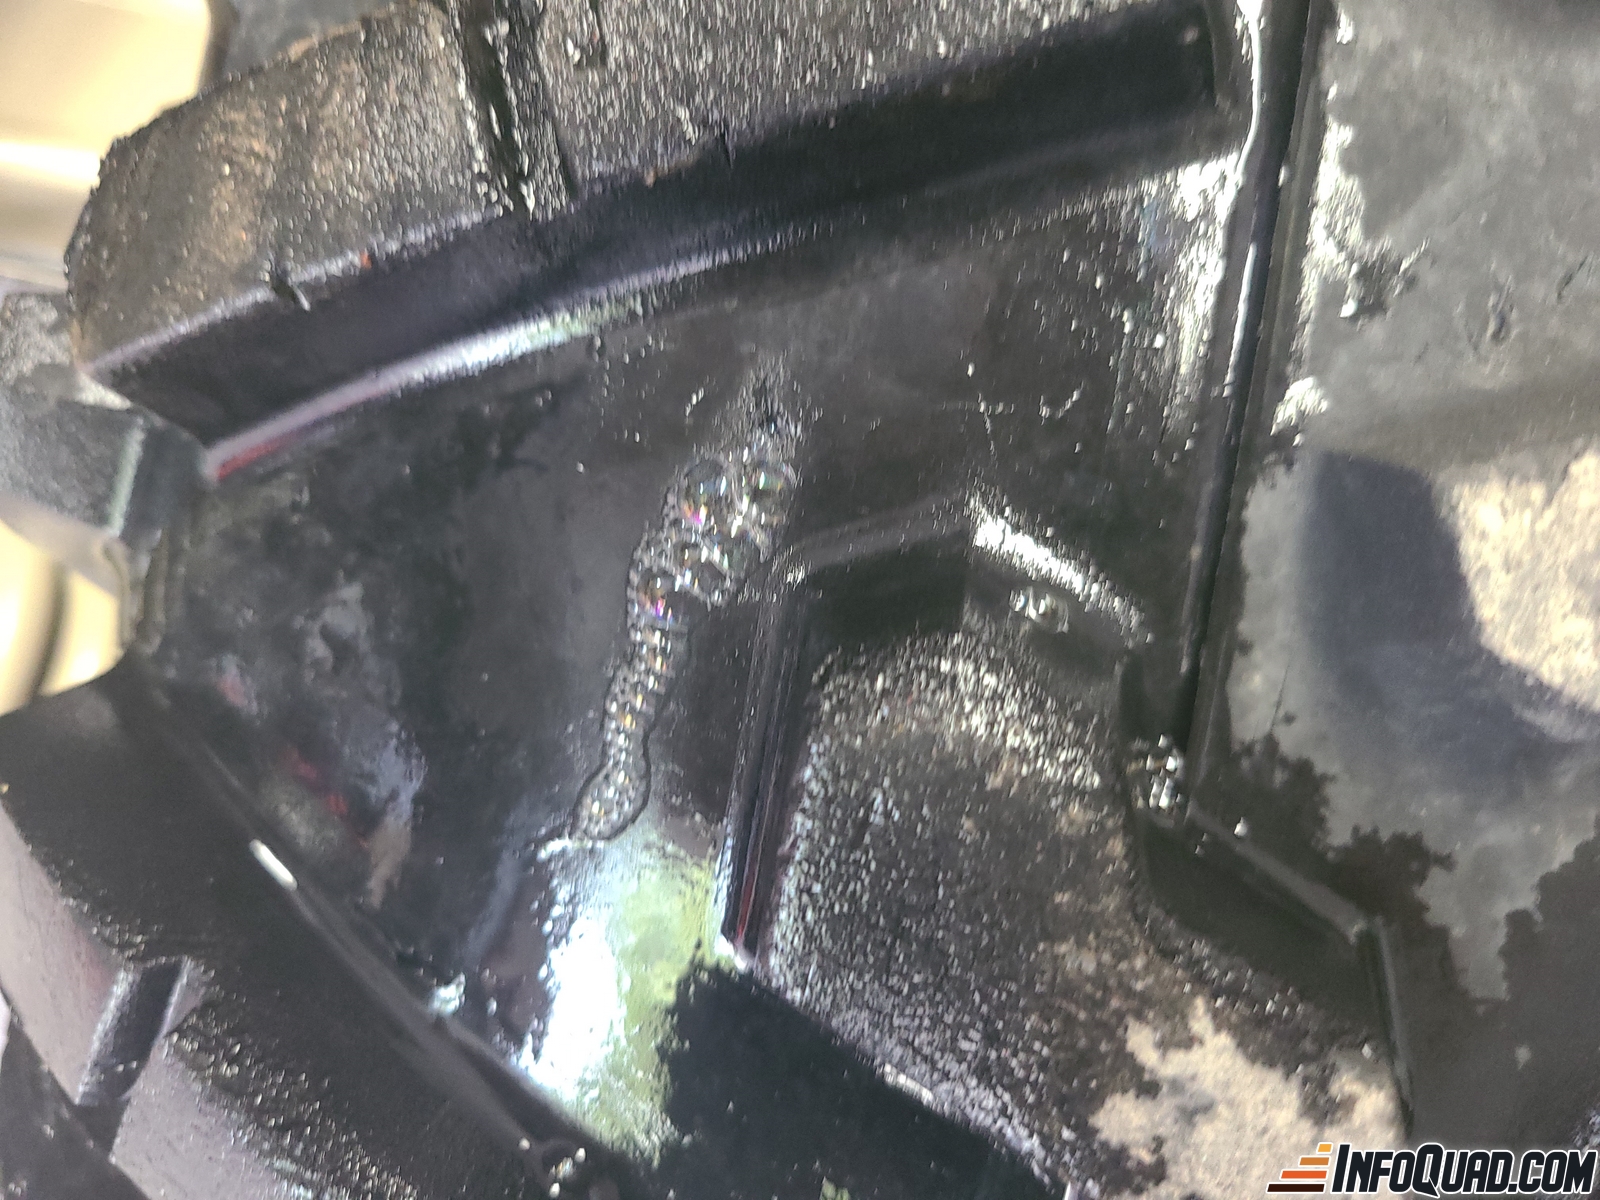
If the leak is large, this may take some time. Most of the time, you’ll be able to hear air escaping from the tire. If you can’t find the exact spot, use soapy water to help you find the leak.
To make the repair easier, move your quad forward or backward so that the leak is easily accessible. Return the transmission lever to “Park.”
Keep the compressor running to maintain good tire pressure. Stop the compressor if necessary.
3. Use the rasp-type tool and push it into the leak hole. If the hole is small, this may require a good deal of pressure. The hole may be at an angle. Change the angle of the tool if necessary. Once the tool has passed through the sole, move back and forth to scrape the wall. This will allow the bit to adhere well.
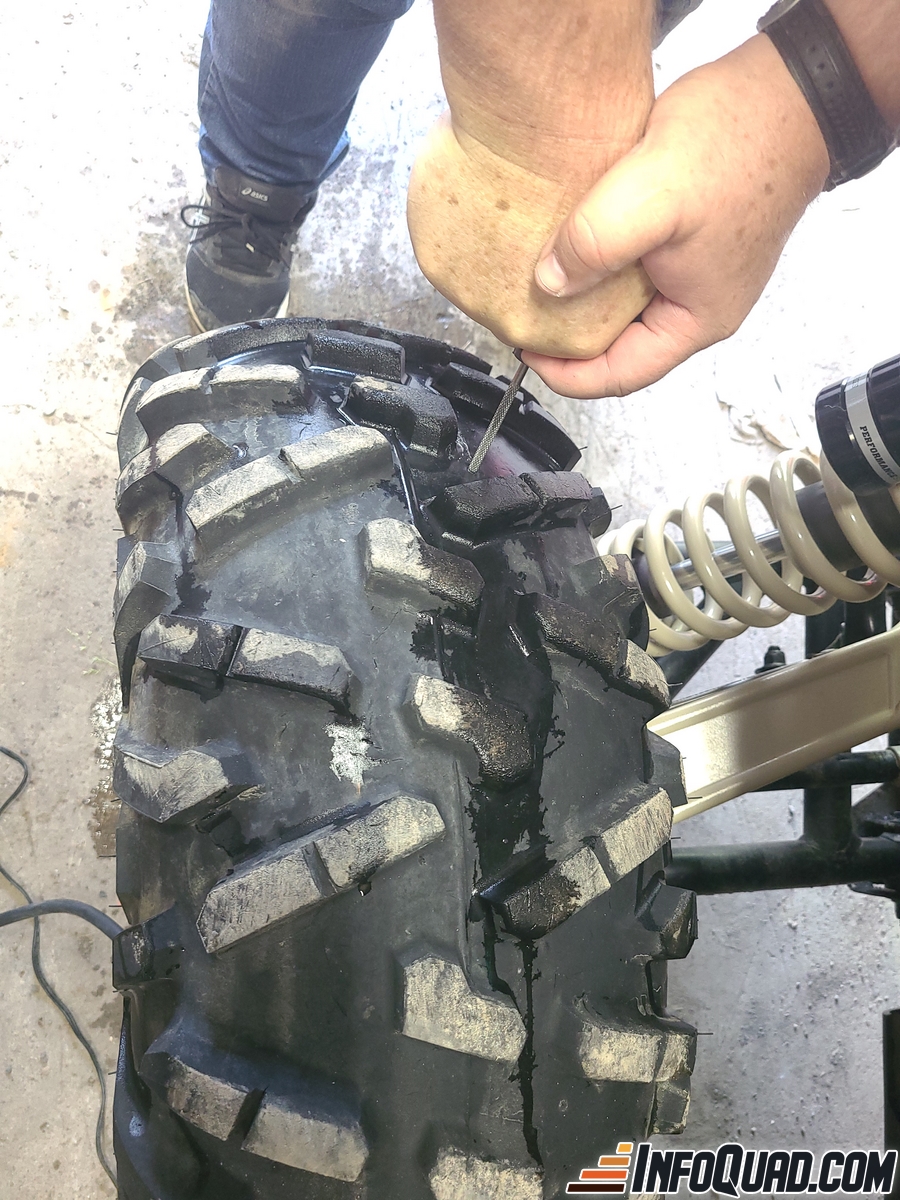
4. Insert a drill bit into the end of the threading tool. Enter half the length of the wick. If you have rubber cement, apply it to the wick.
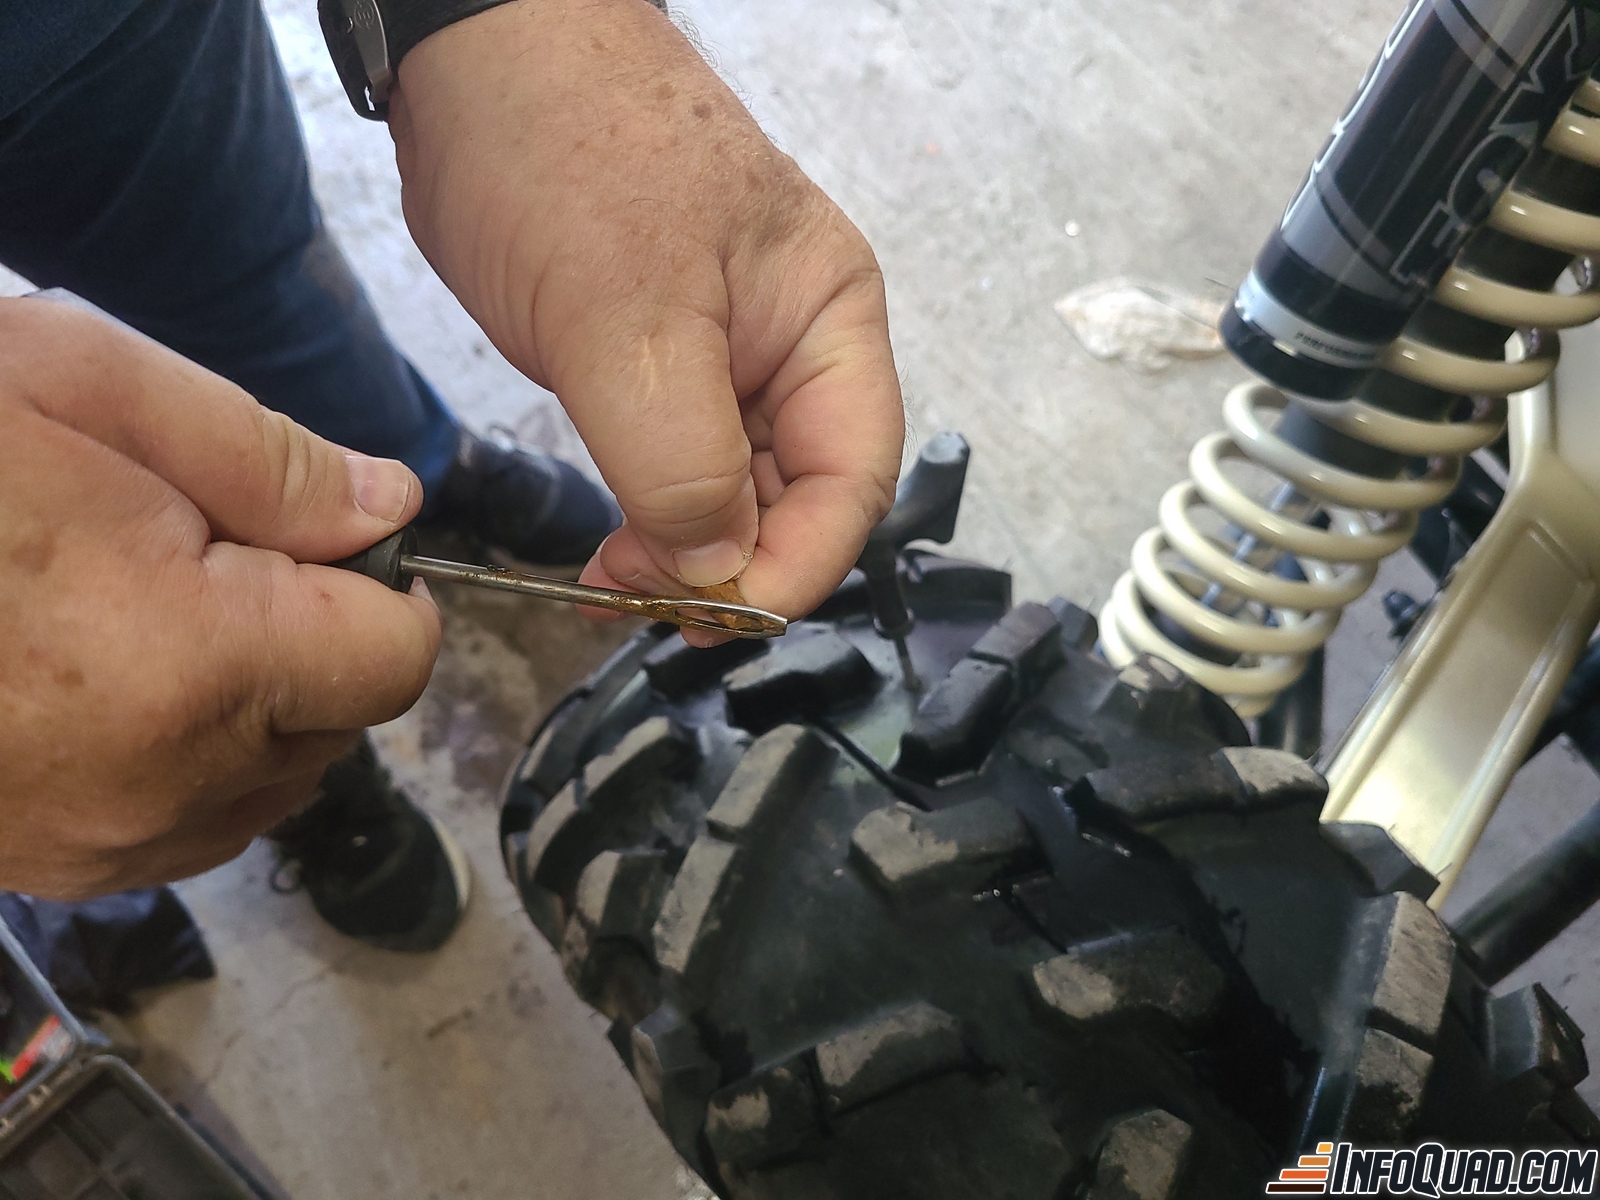
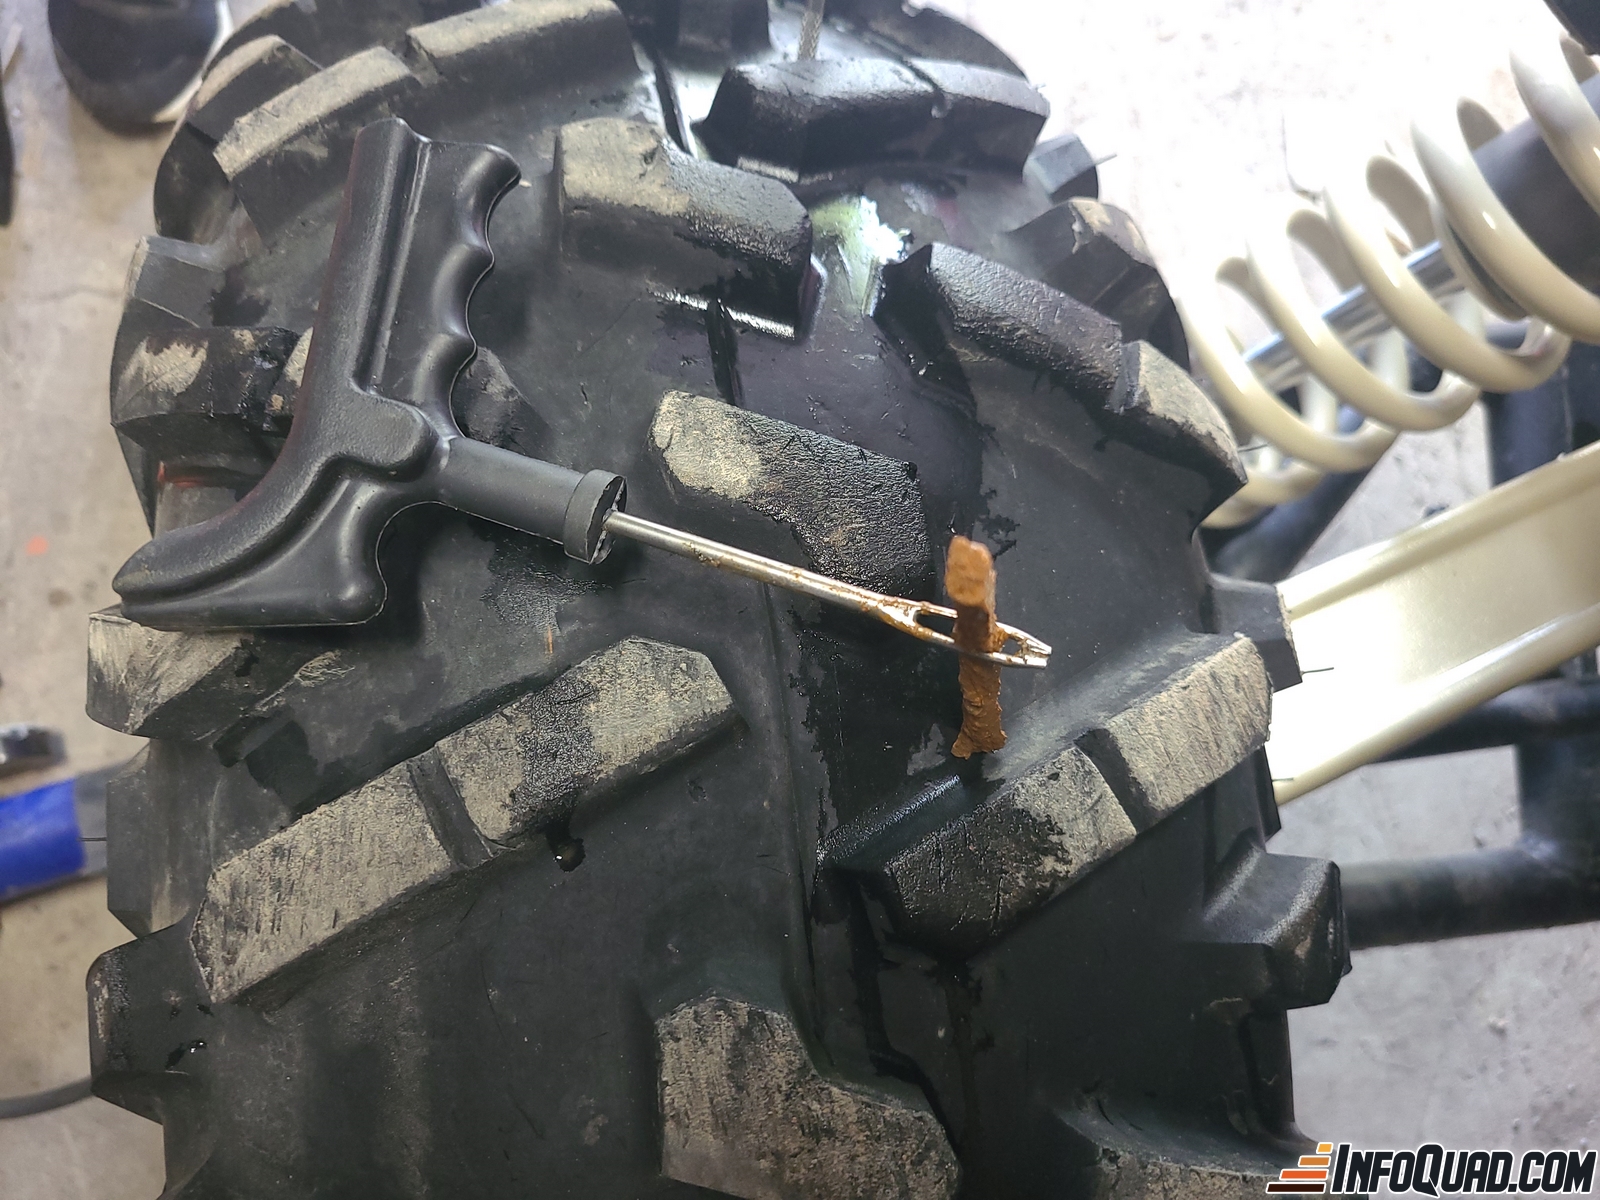
5. Remove the rasp from the hole and insert the drill bit. Again, this may require a good deal of pressure. Glue may make the task easier.
Almost There !
Do not insert the wick completely into the tire. Keep between 1 cm and 2 cm on the outside.
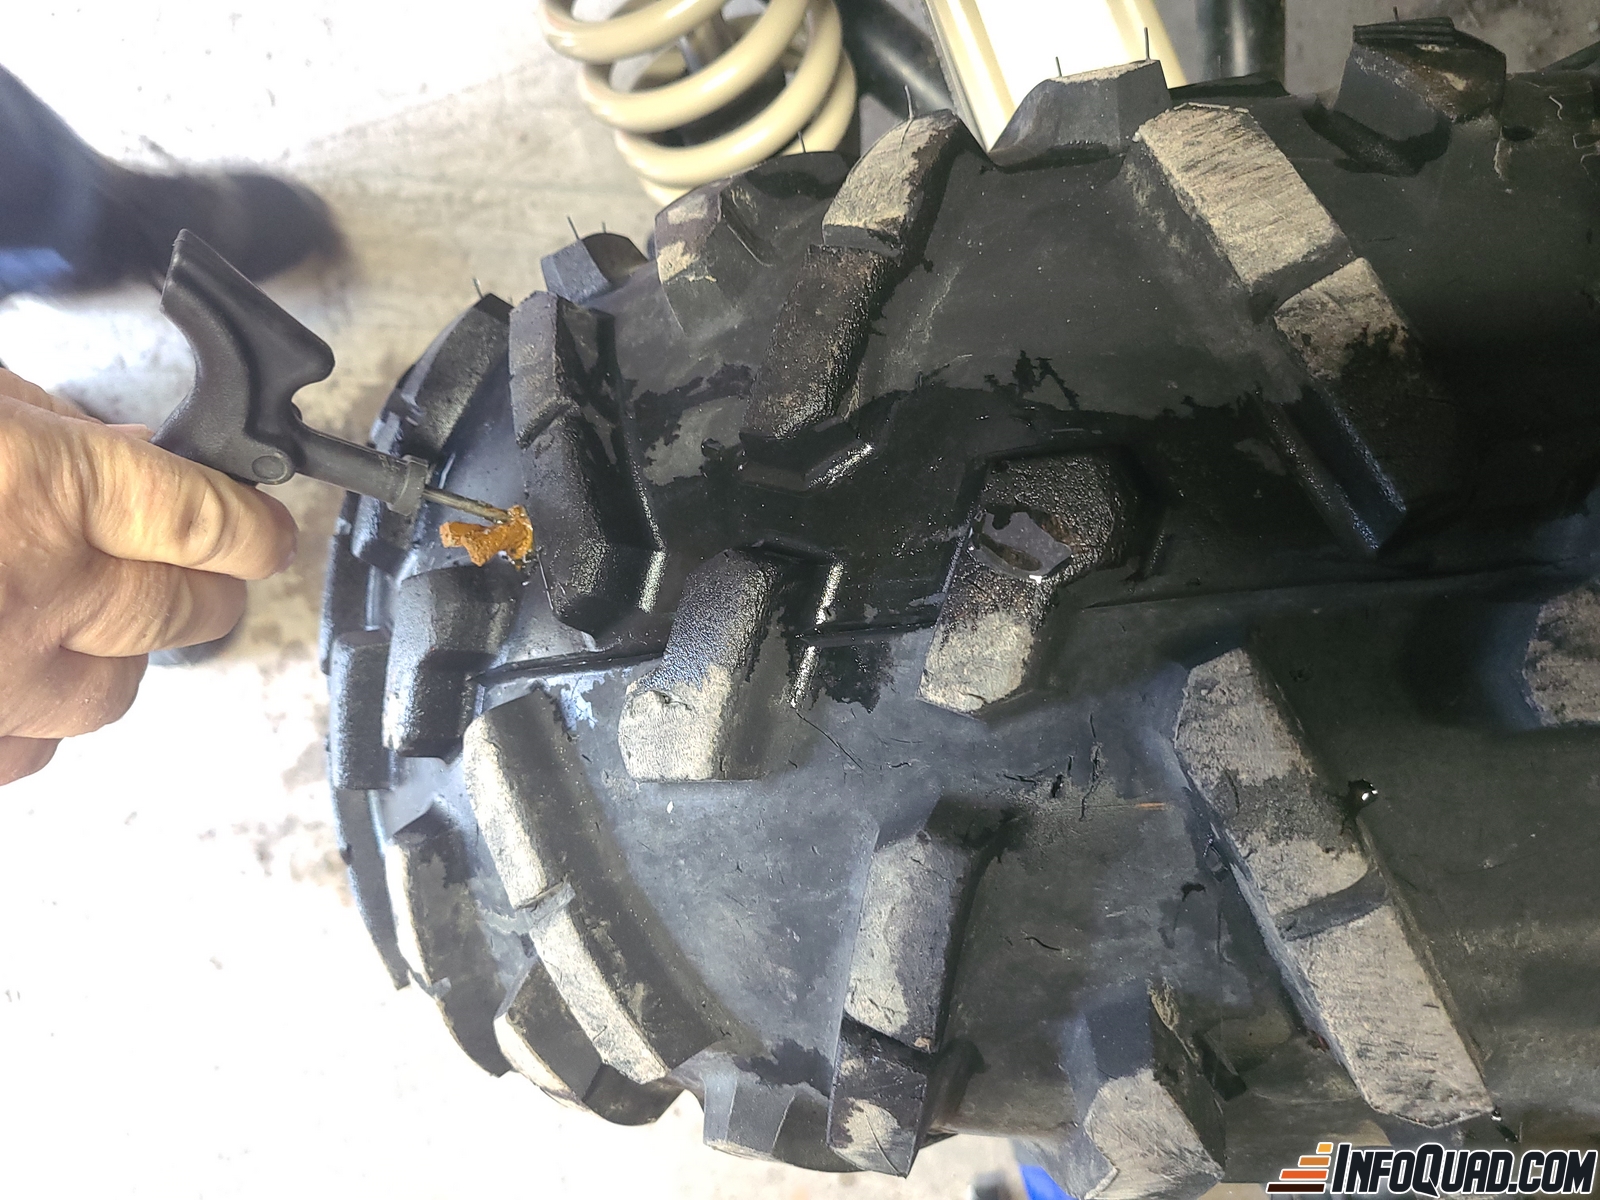
Rotate the tool 180 degrees. Then, with a firm tug, remove the tool from the tire. The wick should detach from the tool.
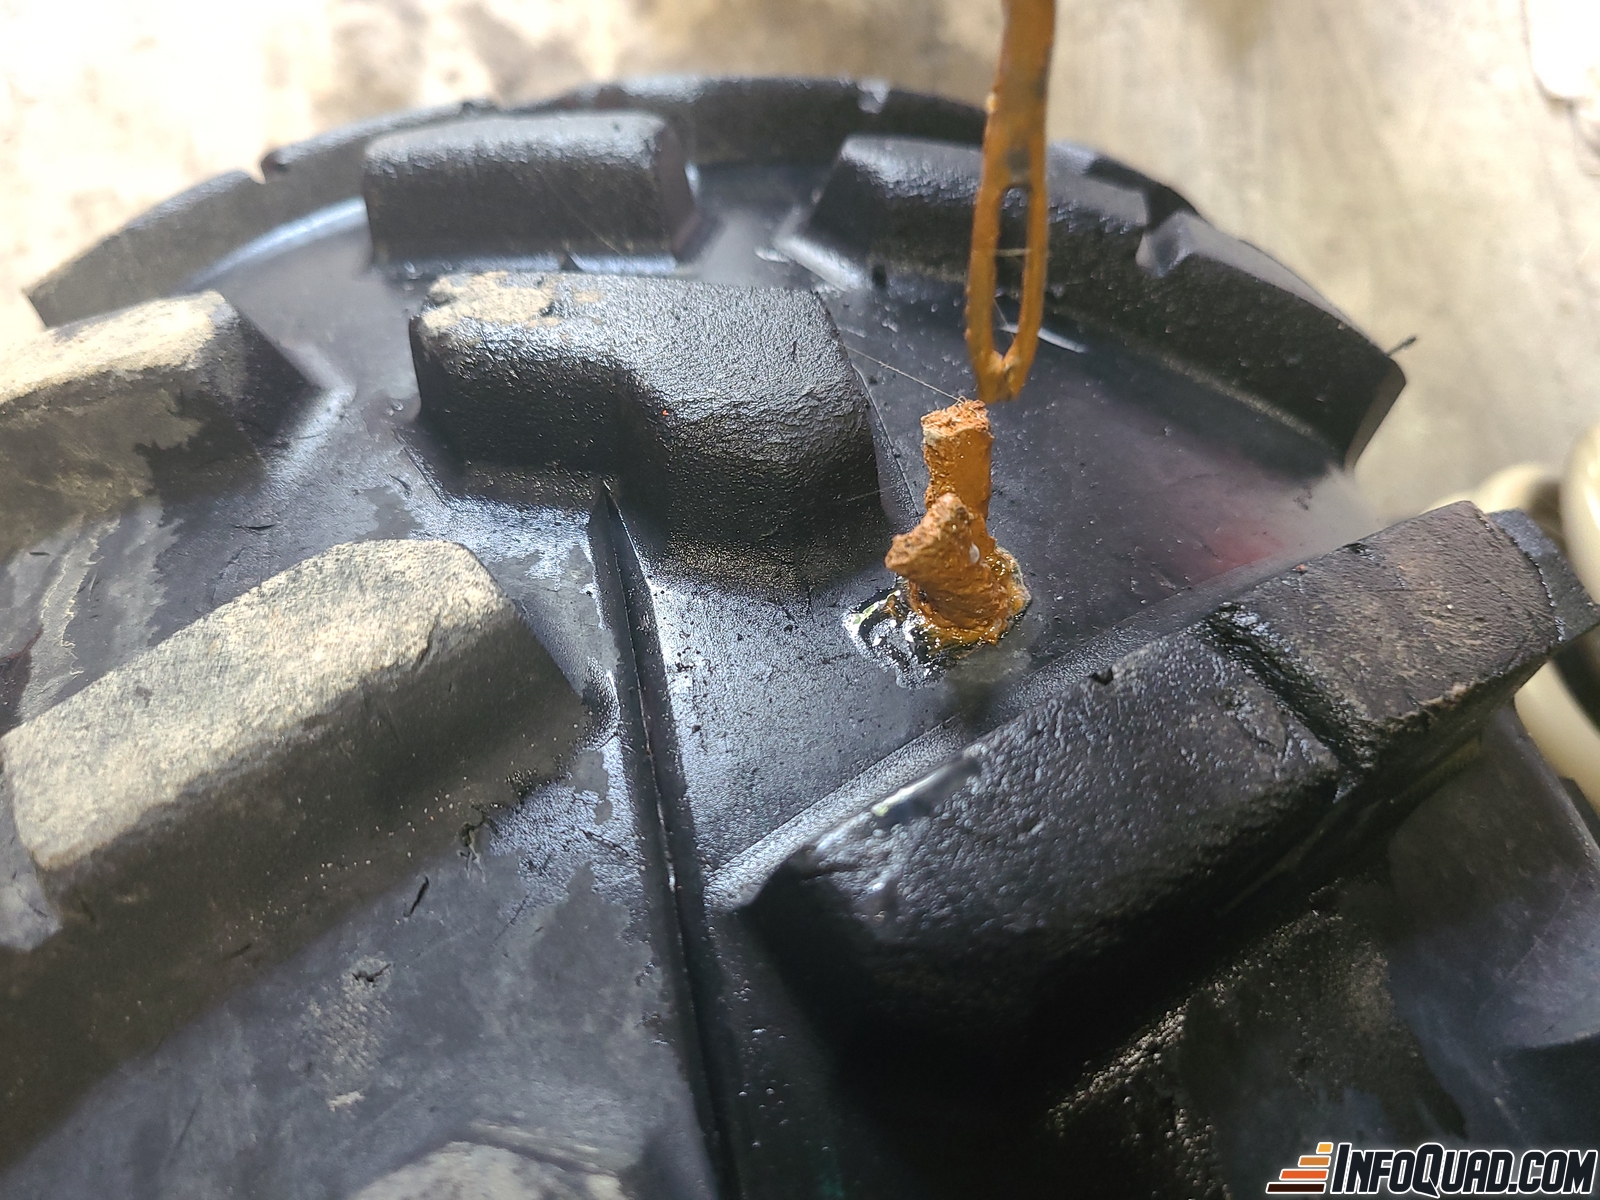
Keep between 1cm and 2cm on the outside.
6. Now check that the drill bit has sealed the hole properly. Use soapy water or saliva.
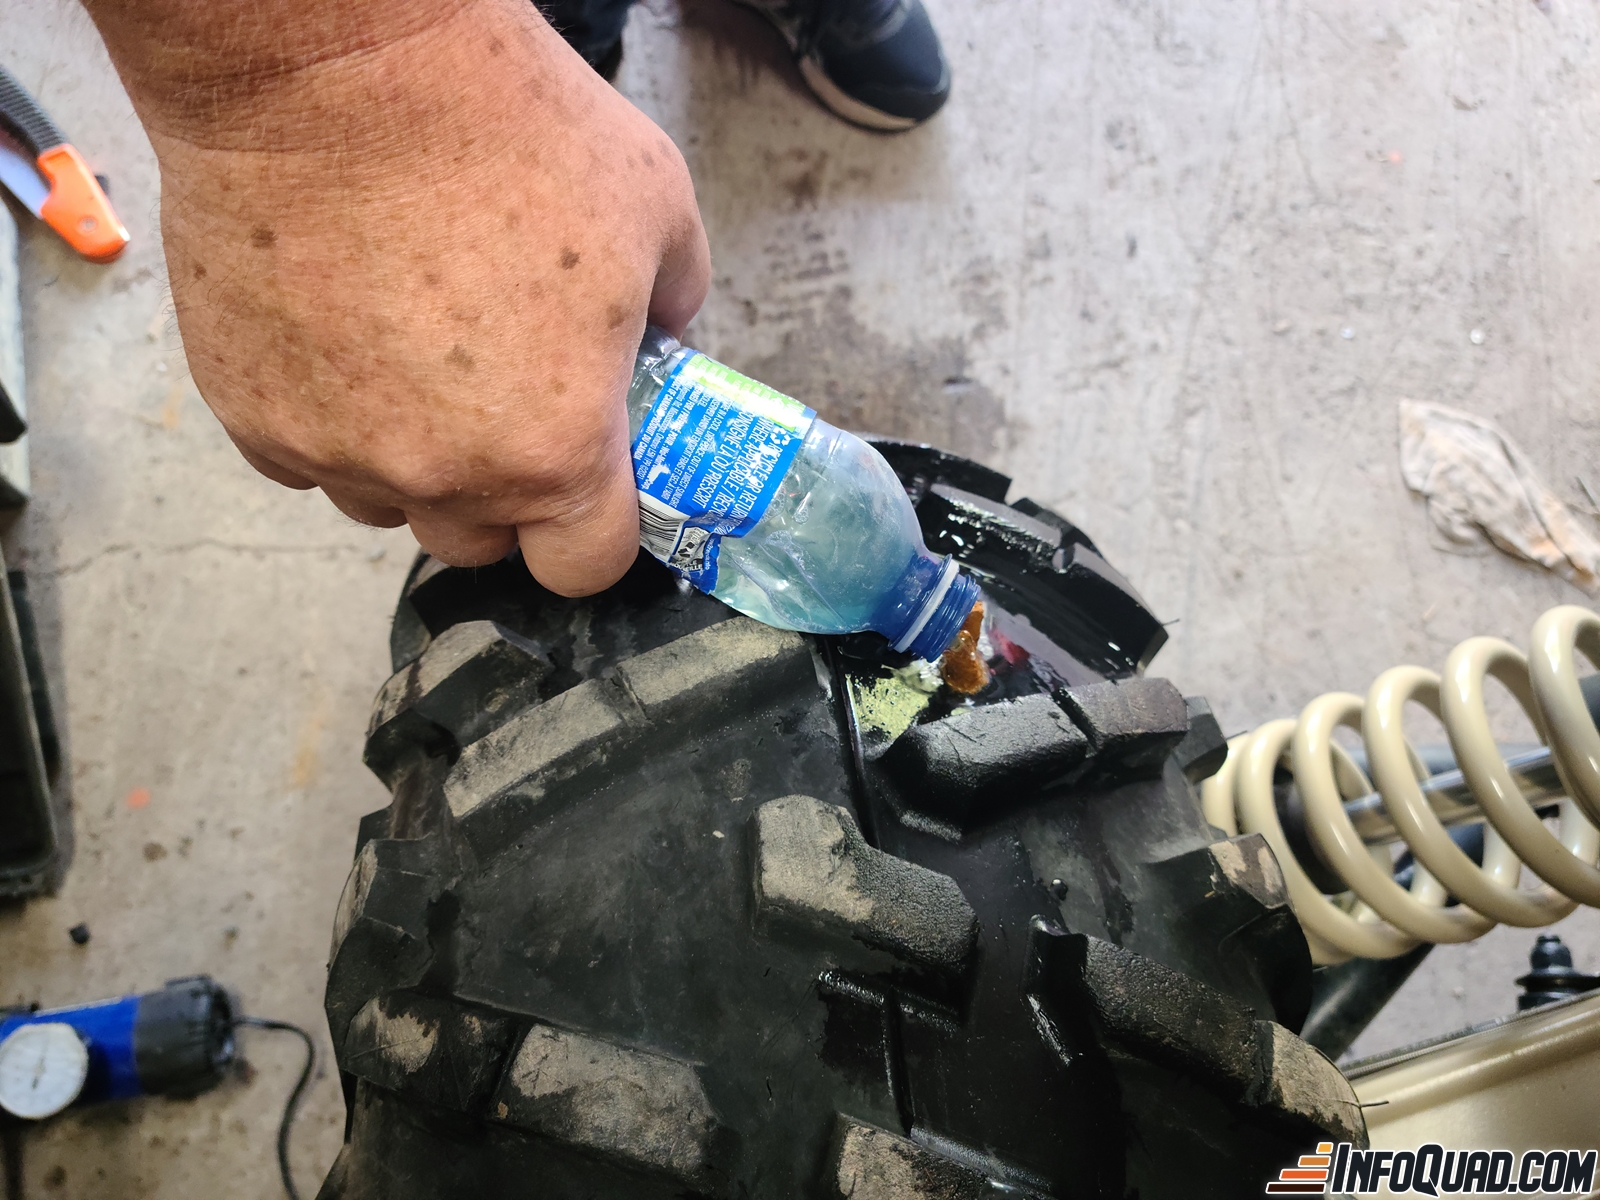
7. Some people will light the wick and let it burn. If you do this, make sure you don’t overheat the tire tread. I haven’t done this for a few years now.
8. Adjust tire pressure
9. Put away your tools and you’re ready to set off again with your quad.
Limitations
This technique will work for repairing the vast majority of flat tires. There might be cases where you need to insert two or more plugs, which require extra attention. Occasionally, a flat tire may be too challenging or impossible to repair on the trail, especially if the puncture is on the tire’s sidewall or if the tire’s tread is severely damaged.
Be Prepared Before You Ride
If you haven’t already, I recommend preparing a tire repair kit. You can find complete repair kits at your dealership, hardware store, or online. Basic kits typically cost under $20, while complete kits (excluding the compressor) usually range from $30 to $50.
12-volt automobile air compressors work well for this task. Without going overboard, choose a good-quality compressor. I recommend using a small waterproof box or a canoe-style waterproof bag to store your kit. Also, make sure to always have at least ten plugs on hand.
I hope this article helps you become better informed about repairing a flat tire on your quad.
Happy Riding!


